
PROMOZIONI attive ![]() Filamenti KIMYA e Fabbrix | Bambu Lab X1E Bundle | Stampanti 3D UltiMaker
Filamenti KIMYA e Fabbrix | Bambu Lab X1E Bundle | Stampanti 3D UltiMaker
Active PROMOTIONS ![]() KIMYA and Fabbrix Filaments | Bambu Lab X1E Bundle | UltiMaker 3D printers
KIMYA and Fabbrix Filaments | Bambu Lab X1E Bundle | UltiMaker 3D printers
PROMOCIONES activas ![]() Filamentos KIMYA y Fabbrix | Bambu Lab X1E Bundle | Impresoras 3D UltiMaker
Filamentos KIMYA y Fabbrix | Bambu Lab X1E Bundle | Impresoras 3D UltiMaker
PROMOTIONS actives ![]() Filaments KIMYA et Fabbrix | Bambu Lab X1E Bundle | Imprimantes 3D UltiMaker
Filaments KIMYA et Fabbrix | Bambu Lab X1E Bundle | Imprimantes 3D UltiMaker
Aktive WERBEAKTIONEN ![]() KIMYA und Fabbrix Filamente | Bambu Lab X1E Bundle | UltiMaker 3D-Drucker
KIMYA und Fabbrix Filamente | Bambu Lab X1E Bundle | UltiMaker 3D-Drucker
We use cookies to ensure the proper functioning of this website, analyze our traffic and, where applicable, provide additional services to users. You can choose whether to accept the use of cookies or disable them.
The Required or Functional cookies relate to the functionality of our websites and allow us to improve the service we offer to you, for example by allowing you to carry information across pages of our website to avoid you having to re-enter information, or by recognizing your preferences when you return.
These are cookies that collect information about the advertisements shown to users of the website. They can be anonymous, if they only collect information about the advertising spaces shown without identifying the user, or personalised, if they collect personal information about the user of the shop by a third party, for the personalisation of these advertising spaces.
Analytics cookies allow us to recognize and to count the number of visitors to our website, to see how visitors move around the website when they are using it and to record which content viewers view and are interested in.
These are used to improve the browsing experience and optimise the operation of the shop.


Compatible with all BCN3D printers.
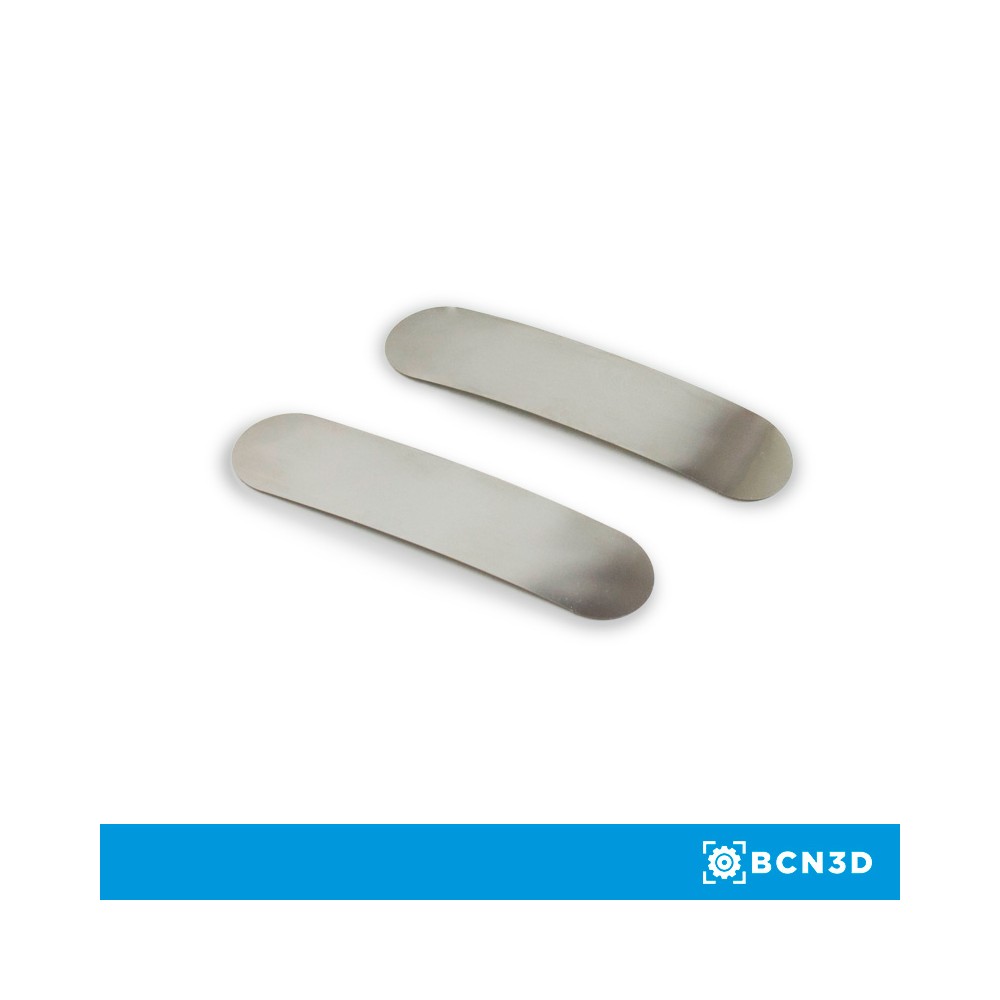
BCN3D printers include a new and improved Z calibration method, which uses Calibration Gauges instead of a piece of paper. This change increases the accuracy and repeatability of the process regarding the old method. Despite old Sigma and Sigmax users can still utilize the paper to calibrate, it is highly recommended to switch to Calibration Gauges. To take the best profit of the Calibration Gauges, we recommend to Sigma and Sigmax users to upgrade the firmware to version 2.0.0 or higher.
How to use it?
During Z Axis Calibration, place one Calibration Gauge between the nozzle and the printing surface glass and follow the instructions on the printer screen. Hold the gauge by the end and move it back and forth, without pressing the platform. Raise the platform until you feel some resistance while sliding the gauge. The gauge should not flex.
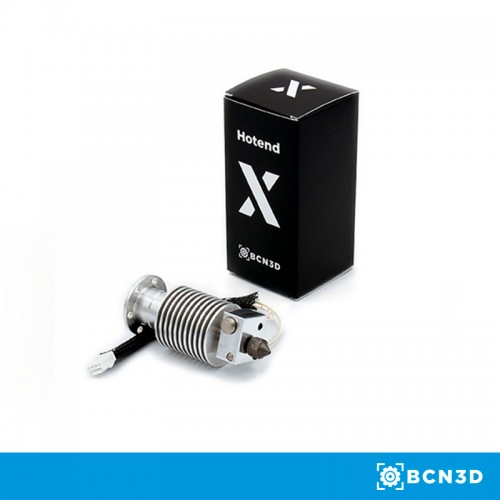
Our new Hotend X with a nozzle of 0,6mm is made from a special alloy of tool steel and opens up a whole new world of industrial applications.
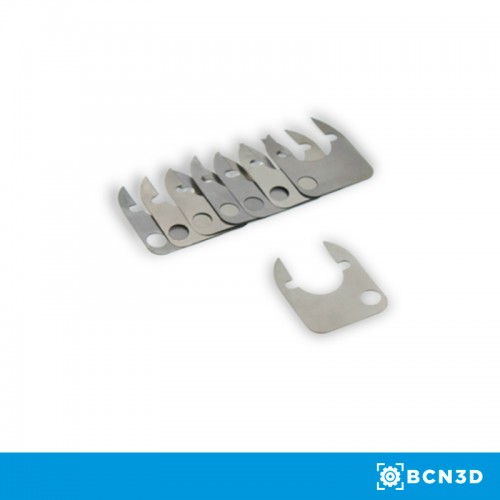
Shims are elements that mechanically correct the Z offset when printing in Mirror or Duplication mode.

BCN3D printers include a new and improved Z calibration method, which uses Calibration Gauges instead of a piece of paper.


No customer reviews for the moment.